
I am really amused by food print clothing, particularly anything involving cherry pie. Therefore when I saw these wonderful items I got very excited:


These two novelty print dresses are from Modcloth.

This fabric is from Vivian Ducas' Spoonflower shop C'est La Viv. She is one of my connections on Spoonflower and her designs are fantastic!
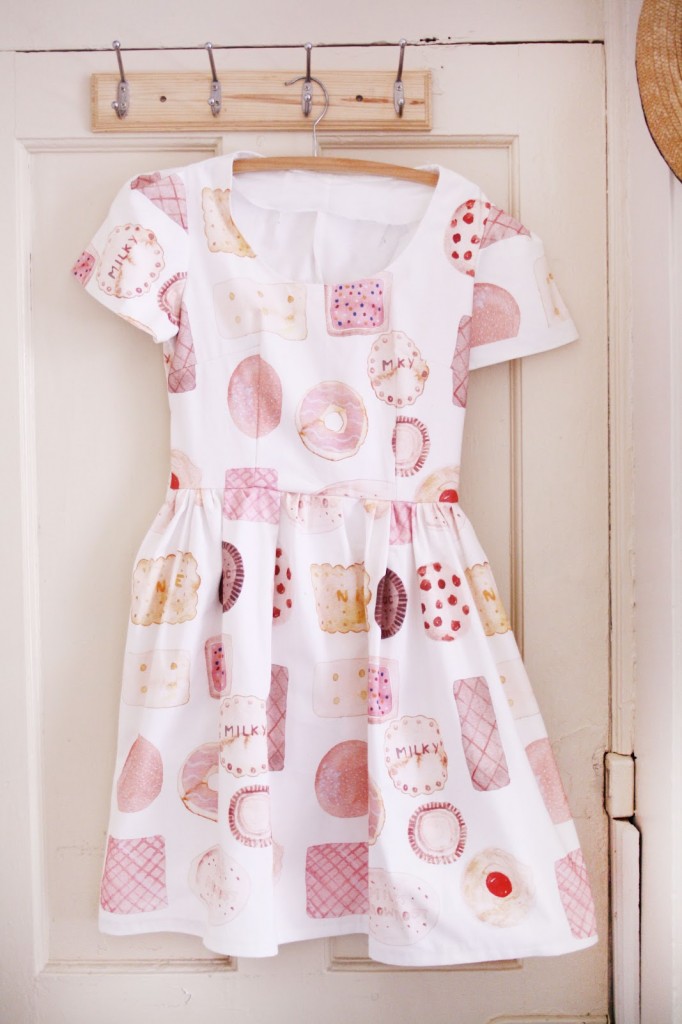
I originally saw this cookie print dress on another blog. Unfortunately, I don't remember which blog I saw it on or who the designer is, but whoever created it is seriously classy.
So, for the past little while I have really been wanting to find a shirt with cute little cherries and cherry pie slices on it! When I can't find exactly what I'm looking for in stores (which seems to happen frequently), I resolve to make it! I figured I could paint some fabric similar to Vivian's myself, and I remembered that I had red and yellow tubes of fabric paint and a black fabric marker lying around. Unfortunately I didn't have a suitable shirt pattern or fabric for what I envisioned. Then, one night I was looking through a laundry basket of off-season clothing that I have in my closet and I discovered one of my dad's old white t-shirts. It was too big and pretty boxy, but as I held it up in the mirror I realized that I could use it as the base for my project. I got right to work with ambitious painting and cutting and sewing... hence the fact that I have no actual "before" picture to show you! But I suppose a men's plain white shirt isn't too interesting anyway! The first thing I tackled was taking in the side seams up to the sleeves to make it my size. I cut off the excess fabric from the bottom, sides, and sleeves. I drew the crusts of the pie with the black fabric marker, and then used the red and yellow fabric paint like water colors to make the cherries. It took quite a while. The t-shirt's thick white collar band looked rather disproportionate, so I folded it under and sewed the bottom edges of it to the shirt. It created a nice, slightly raised, scoop neckline. This is how the shirt turned out:


TADA!
Like most DIY projects, this shirt was an experimental and time consuming (but very satisfying!) learning experience!
No comments:
Post a Comment